
Table of Contents
How to Calibrate Your PS5 DualSense Controller — Fix Drift and Offset
| Quick answer: Test your PS5 controller drift level first at techtester.online/stick-drift-test/ this shows exact axis values so you know how much drift you have before and after calibration. Then follow the calibration steps below based on where you are playing. |
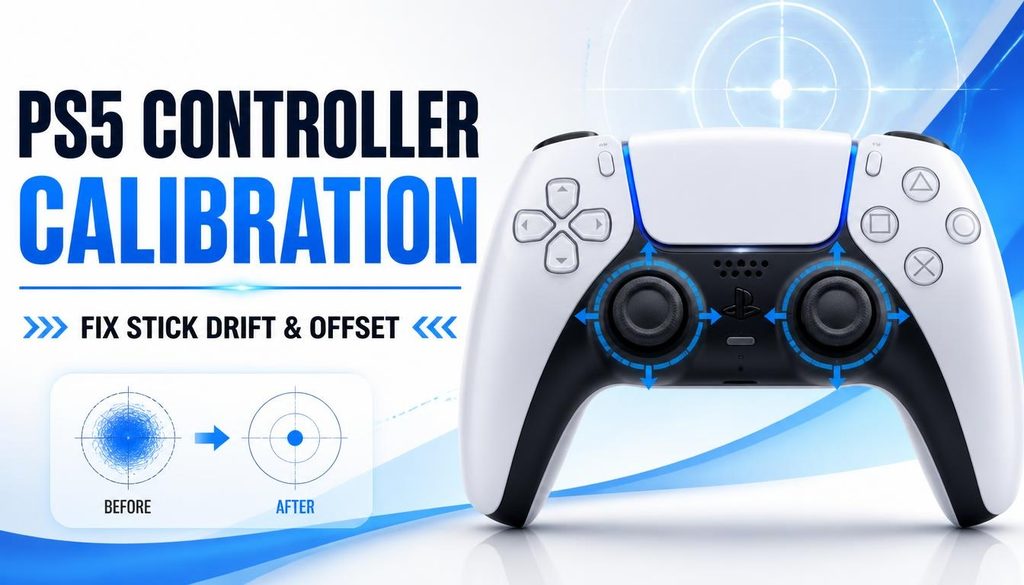
PS5 DualSense calibration adjusts the software mapping of your thumbstick position to compensate for drift the thumbstick registering movement when you are not touching it. Calibration reduces the visible effect of drift but does not fix worn hardware. Think of it as adjusting the software to account for the hardware imperfection.
Test drift level before calibrating
Open techtester.online/stick-drift-test/ in Chrome on your PC. Connect the DualSense via USB C. Press any button. Release both sticks completely and watch the axis values. Values above 0.05 confirm drift. Note the exact values you will compare after calibration to measure improvement.
Calibration Method 1 — DualSense hardware reset
- Turn off the PS5 completely (not rest mode)
- Locate the small reset button on the back of the DualSense — it is in a small pinhole near the L2 shoulder button
- Use a pin or SIM card ejector to press and hold the reset button for 5 seconds
- Release the button
- Connect the DualSense to the PS5 via USB-C cable
- Press the PS button to pair
- Retest at techtester.online/stick-drift-test/ — drift values often reduce significantly after a reset
Calibration Method 2 — PS5 console stick calibration
- PS5 Settings then Accessories then Controllers
- Select your DualSense controller
- Look for Calibrate Sticks or Dead Zone Adjustment option
- Follow the on-screen calibration wizard — move each stick through its full range then release to center
- The PS5 records the center position and adjusts the input mapping
- Test in a game — camera drift should be reduced
Calibration Method 3 — Windows joy.cpl (for PC gaming)
- Connect DualSense via USB-C to your PC
- Press Windows key + R then type joy.cpl and press Enter
- Select PS5 Controller or DualSense from the list
- Click Properties then Settings tab then Calibrate
- Follow the wizard center both sticks and press any button, move sticks through full range, center again
- Click Finish
- Retest at techtester.online/stick-drift-test/ to measure improvement
When calibration is not enough
If axis values remain above 0.10 after calibration, the thumbstick potentiometer is physically worn and calibration has reached its limit.
- Clean first: apply 90%+ isopropyl alcohol around the thumbstick base with a cotton swab, rotate the stick slowly while applying, wait 15 minutes and retest
- Sony warranty: PS5 DualSense drift is covered under the 12 month Sony warranty. Contact PlayStation Support at support.playstation.com for a free repair or replacement
- UK and EU: consumer law extends warranty rights to 6 years (UK) and 2 years (EU) for manufacturing defects — Sony must repair or replace free of charge
Q: Can you calibrate a PS5 controller to fix drift?
Yes — but calibration only reduces the visible effect of drift by resetting the software center point. It does not fix worn hardware. Test drift severity at techtester.online/stick-drift-test/ first. If axis values are below 0.10 calibration will help. Above 0.10 means the hardware needs cleaning or Sony warranty repair.
| Test PS5 drift before and after calibration: techtester.online/stick-drift-test/ — real-time axis values, severity guide Full PS5 controller test: techtester.online/ps5-controller/ |